Main toolbar
We've designed NearSolid's interface to be simple and intuitive.
At the top, you'll find the Main Toolbar, which provides access to most of the application's features. Some options are only available when a design is loaded.

The toolbar is divided into five main groups:
File
![]()
The File section allows you to select an SVG file to be converted into a 3D object. You can also drag and drop your SVG directly into NearSolid. If you load an image while in Model or Scene mode, it will be interpreted as a 3D object — like a sign or vinyl layer. If you do it in Photomatch mode, it will be treated as a background image instead.
Get Model
![]()
The Get Model lets you download your 3D model in different formats and view it in AR on compatible devices:
 Download
- 3DMF: Un formato optimizado para impresión 3D que permite la separación de colores (en beta).
- GLTF: A lightweight 3D format ideal for web applications, compatible with Blender and other software. Learn more about GLTF.
- USDZ: A widely used 3D format in the Apple ecosystem. More information about USDZ.
- Optimized SVG for LightBurn: This export option generates an SVG optimized for LightBurn, including color-coded layers that differentiate between cutting and engraving layers (important: use 'engrave' for engraving layers). LightBurn is the most popular software for laser cutters. More details about LightBurn.
- Simple SVG: Allows you to download example models and open them in your preferred design software.
 AR Mode
The AR button allows you to display the generated model in your environment.
You need a device that supports augmented reality.
Learn more about AR support
Mode
![]()
This section switch NearSolid operational modes.
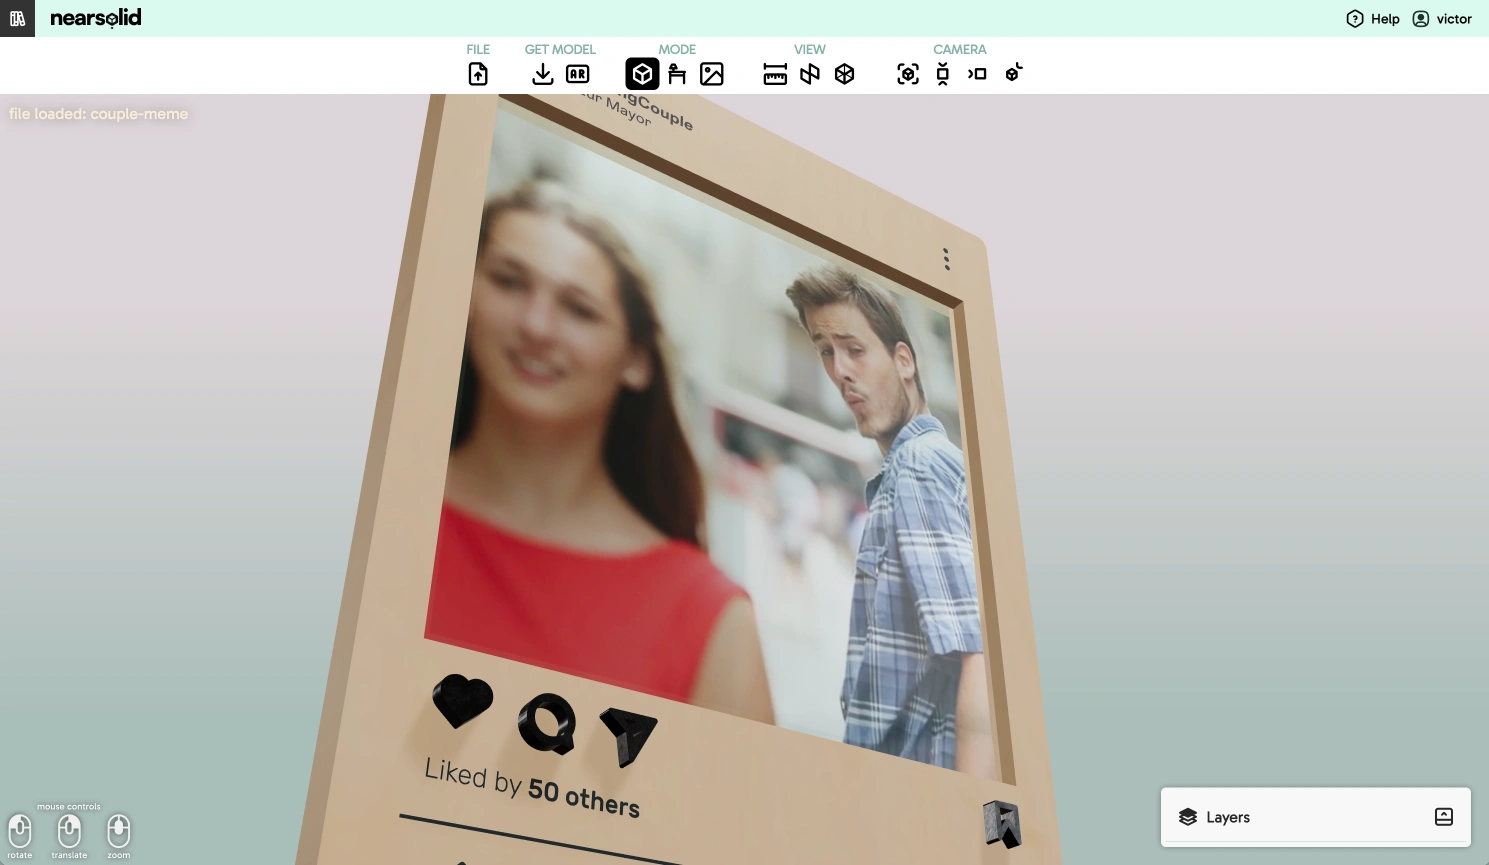
 Model Only Mode
The default mode where you can work directly with the generated 3D model.
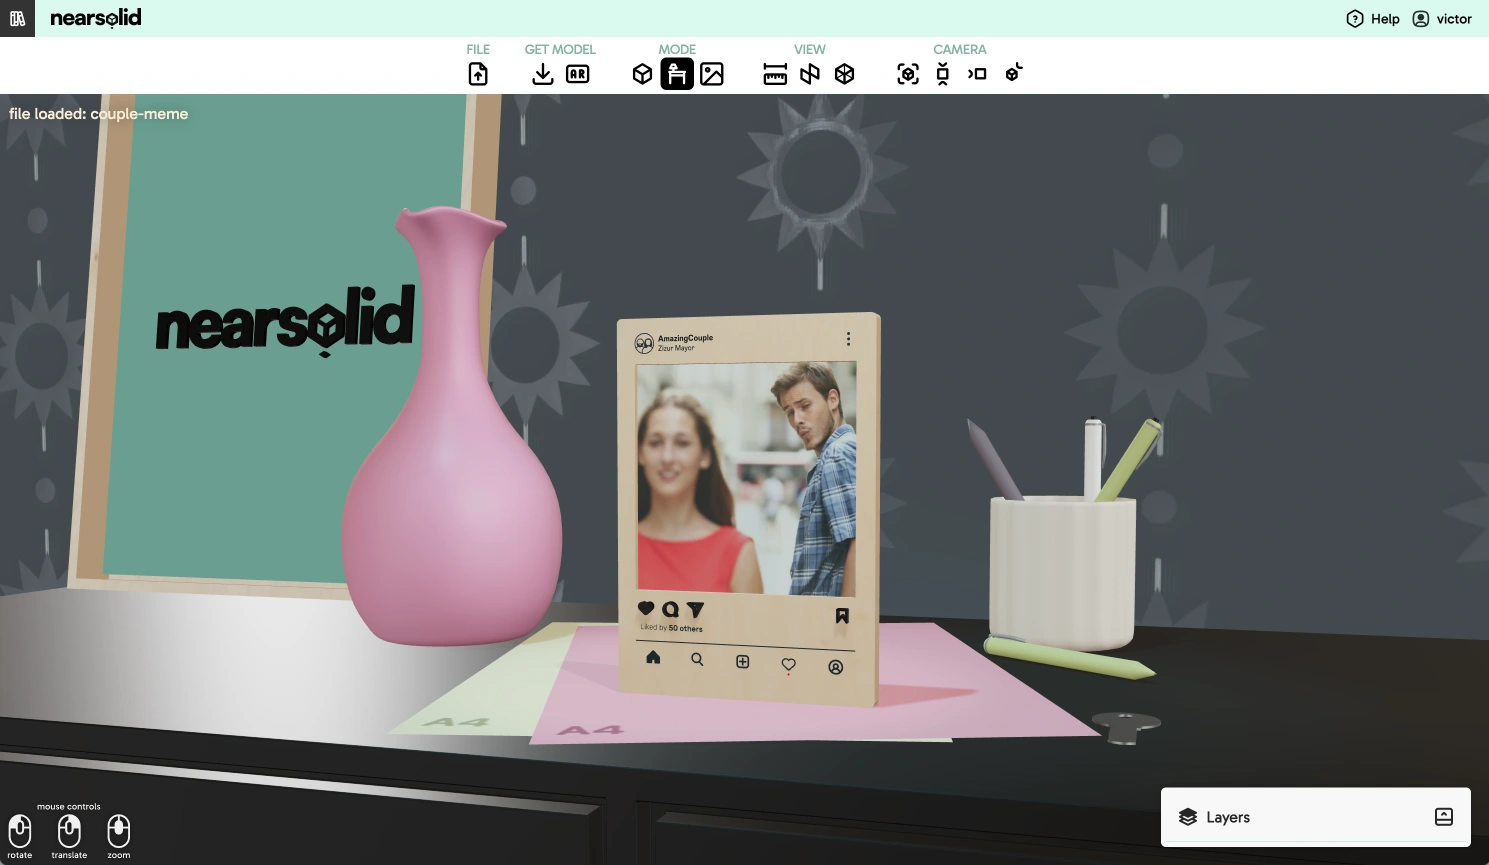
 Scene Mode
Loads a reference 3D scene to simulate the generated model in a realistic environment.
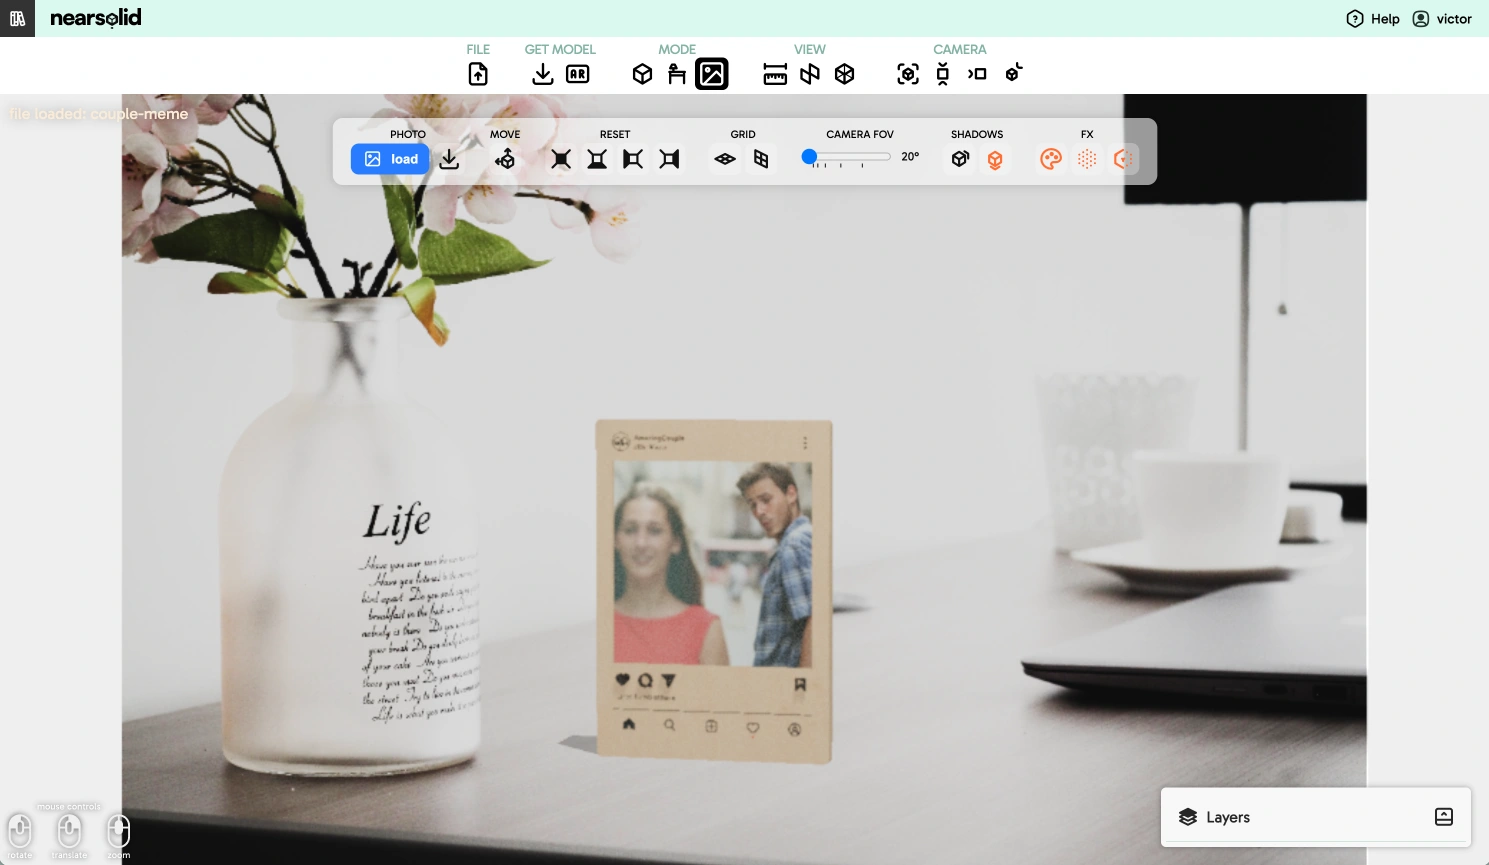
 Photomatch Mode
Allows you to load a background image and adjust the camera for integration.
View
![]()
This section includes some of NearSolid’s main utilities.
 Rulers
Displays rulers on the recreated model, useful for checking design dimensions (in mm).
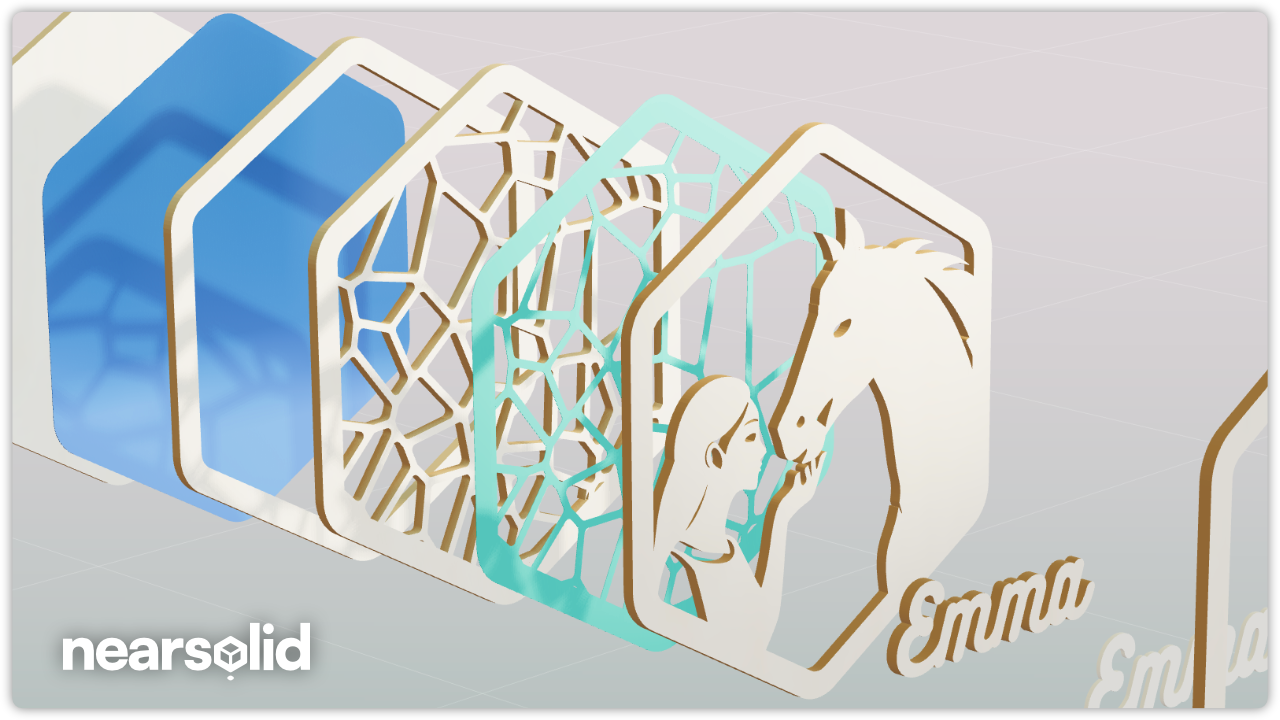
 Exploded View
Shows the model in an "exploded" view. This is particularly useful for verifying assembly before fabrication and ensuring all necessary parts are present.
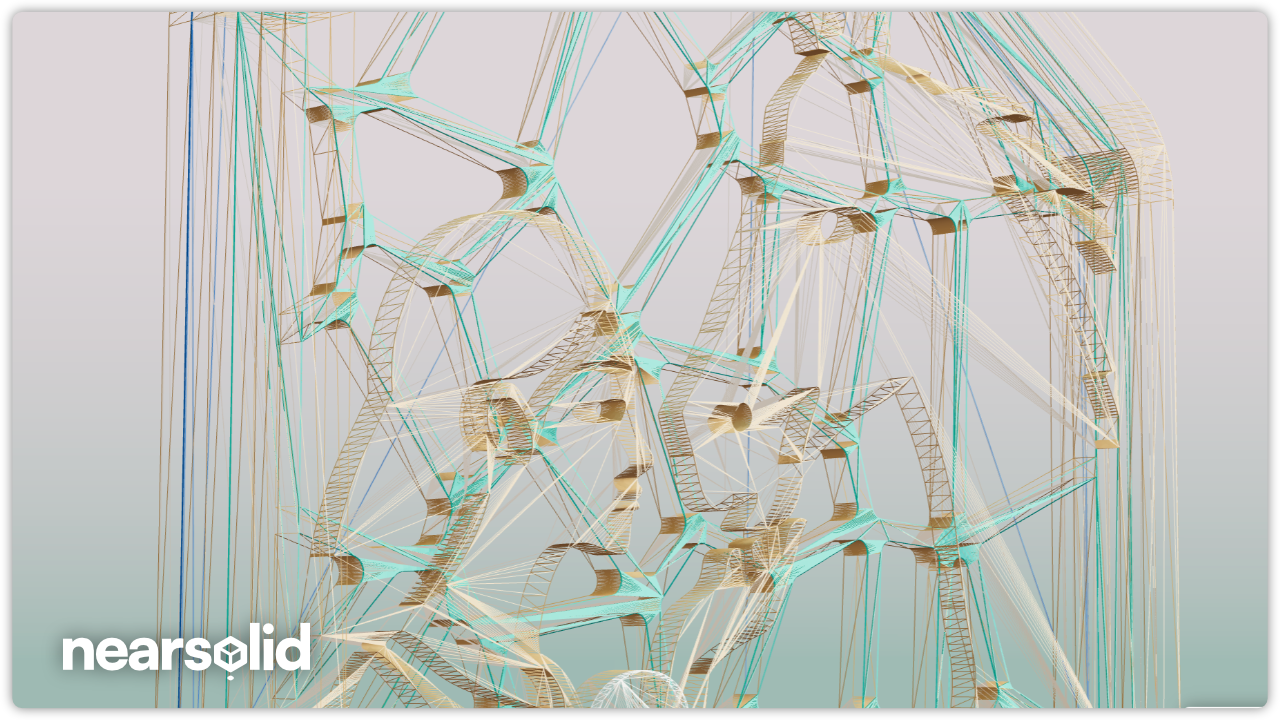
 View as Wireframe
A toggle that displays the model's wireframe. This is useful for checking how a shape has been imported. Sometimes multiple objects are imported separately but appear as one, which may not be ideal for exporting to LightBurn as a single shape.
Camera
![]()
This section simplifies camera controls with preset positions.
 Centered View
Centers the model in the scene. If moving the camera has displaced the model, this button resets its position.
 Front View
Positions the camera directly in front of the model.
 Side Left View
Positions the camera to the left side of the model.
 Top Right View
Positions the camera above and to the right of the model—ideal for taking screenshots.