Photomatch Tools
 Photomatch Mode
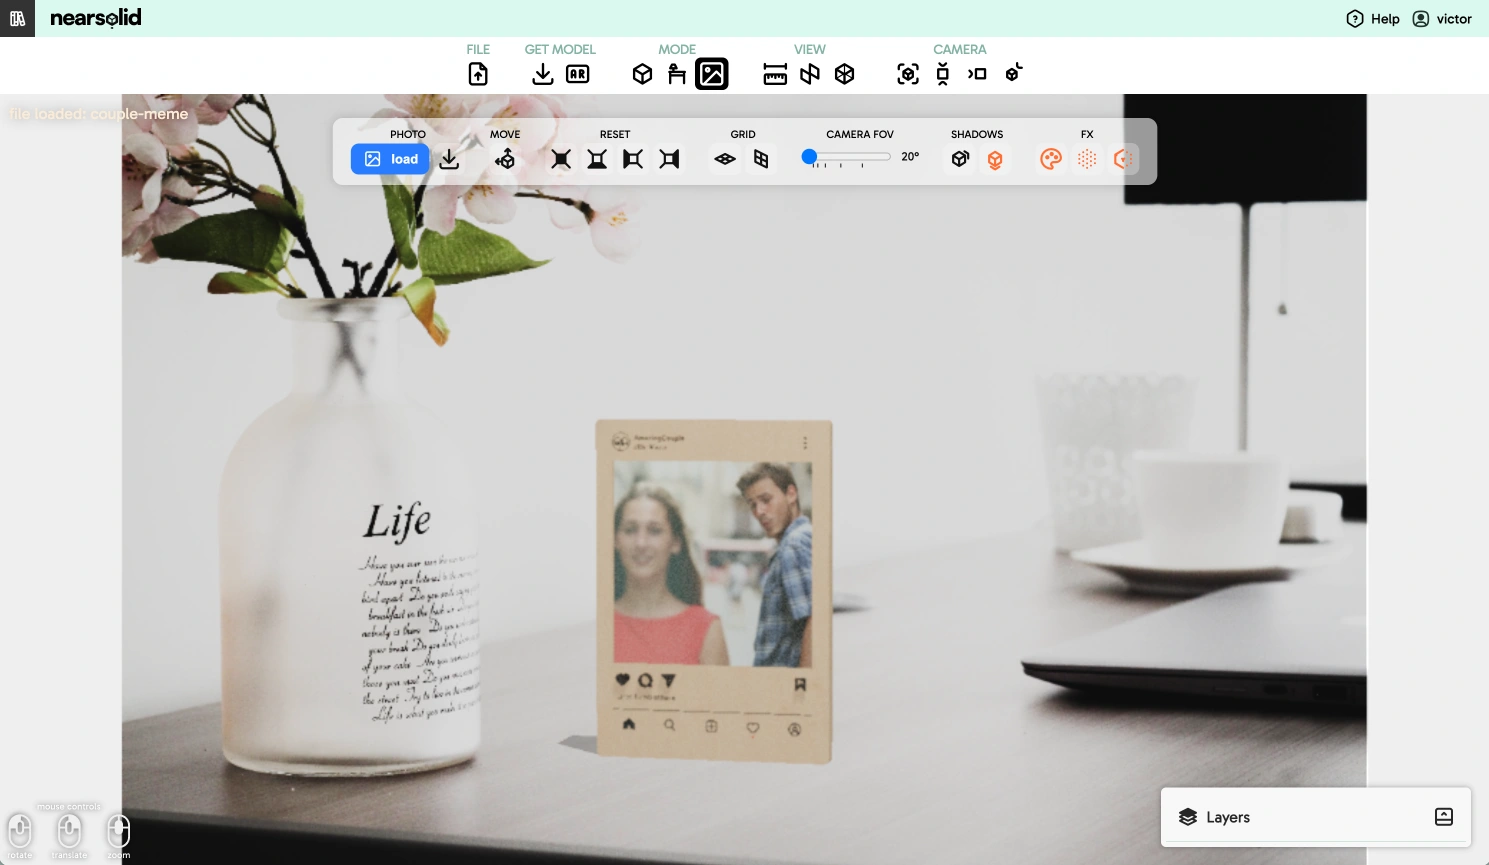
The Photomatch mode lets you align your 3D design with a real-world photograph — for example, a wall, a surface, or any environment.
This tool is useful to simulate how a sign, vinyl, lettering, or object would look before production.
The workflow is simple: you’re controlling a virtual camera that you can adjust to match the perspective of the background image you've loaded.
- Right-click to pan the camera
- Left-click to rotate the view
- Scroll wheel to zoom in and out
To assist with alignment, you can enable a reference grid and adjust parameters like FOV (field of view), rotation, position, and camera distance.
Once you’ve adjusted the viewing angle, you can move the 3D model to fit better with the background.
We recommend rotating your model first — since rotation is applied from the center of the scene, it can be harder to adjust afterwards.
🎬 Tutorial Video
Photomatch Options & Tools

Photo

Load image
Select an image from your device. High-definition images (e.g. 1920×1080) are recommended — avoid blurry or distorted ones.
If you drag an image into the scene while in Photomatch mode, it will be set as the new background.
Save image
Saves the current photomontage. It’s a shortcut for Get > Capture Scene.
Move

Once your model is roughly aligned to a surface, you can use this control to nudge and position the 3D model more precisely over the image.
Reset

When adjusting the camera, you might want to reset certain values to start fresh.
Each option resets its corresponding parameter to the initial state.
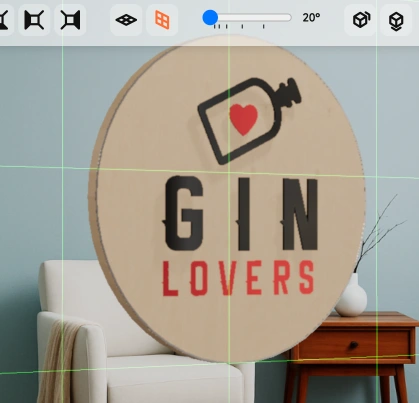
Grid

Here you can toggle reference grids — both vertical (back wall) and horizontal (ground).
These guides help align and scale the 3D model relative to the background image.
Camera Adjustment (FOV)

Use this block to tweak the virtual camera’s parameters so they match the perspective of your photo.
Sometimes the default camera doesn’t align well with the image, so adjusting these values can help.
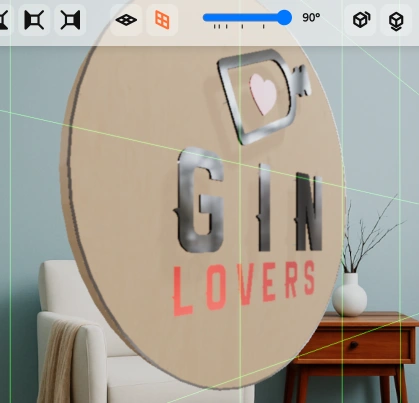
FOV (Field of View) controls how wide the camera sees.
A higher value simulates a wide-angle lens; a lower value mimics zoom.
A value around 35 is usually a good starting point.
It roughly matches the perspective of a standard camera lens, which is how most photos of walls, signs, and interiors are taken.
Proper adjustment makes the model align more naturally with the background.
Shadows

To enhance realism, you can enable model shadows cast onto the image background.
Shadows are projected onto a virtual surface that acts as a floor or wall depending on your model’s orientation.
FX

You can apply some simple visual effects to better integrate the model with the background image.
Tint

Adds a subtle color overlay to the model to help match the tones of the background image.
Noise

Applies a slight noise texture to the model to simulate photographic grain — making it look less artificial.
Blur

Adds a subtle blur to the model to mimic real-world depth of field, especially useful if your photo has blurry areas.